Build Smart, Not Fast: The Right Order to Mod Your 4x4 Without Blowing Up Your Rig

Photo by Photo by Jude Infantini on Unsplash on Unsplash
There's a certain kind of excitement that hits when you drive a new-to-you 4x4 off the lot. Before you've even made it home, you're already mentally swapping out the stock suspension, pricing out lockers, and eyeing rooftop tents online. We've all been there. But here's the thing nobody tells you at the parts counter: the order you do those mods matters just as much as the mods themselves.
Get the sequence right, and every upgrade builds cleanly on the last — your rig gets more capable with each step, and your wallet takes a predictable hit. Get it wrong, and you'll spend more time and money undoing mistakes than you ever would have if you'd just slowed down and built with a plan.
Let's talk about what a smart build sequence actually looks like.
Start With What's Already There: A Baseline Assessment
Before you spend a single dollar on upgrades, you need an honest look at what you're working with. Pull codes, inspect fluids, check the CV axles, look at your brake pads, and crawl under the truck with a flashlight. A rig with 80,000 miles of questionable maintenance history isn't a blank canvas — it's a ticking clock.
Deferred maintenance is the silent killer of build projects. If you bolt a 3-inch lift onto a truck with worn-out ball joints, you've just accelerated the failure of those joints while also putting stress on components that weren't designed to operate at that new angle. Fix the fundamentals first. It's not glamorous, but it's the foundation everything else sits on.
Round One: Tires and Suspension — But in the Right Order
This is where most builds kick off, and it's also where most sequencing mistakes get made. The common impulse is to slap on the biggest tires possible right away. Resist it.
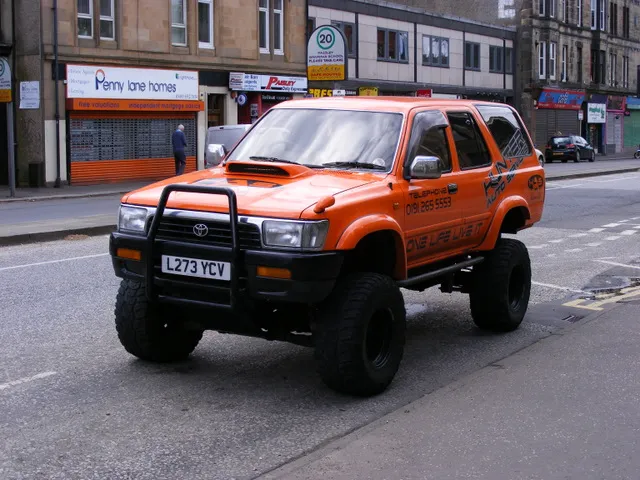
Suspension comes first — or at minimum, it needs to be specified before you buy tires. Here's why: your lift height determines your maximum tire clearance, and your tire size determines what gearing changes you'll need downstream. Buying 35s before you've committed to a lift kit means you might end up with rubbing issues, or worse, you'll over-lift the truck to accommodate tires that were never the right fit for your intended use.
Once you've got your suspension dialed in — lift kit installed, alignment done, geometry corrected with adjustable control arms if needed — then you spec your tires. And when you go to a bigger diameter, put a note in your build journal right now: gearing recalibration is coming. It's not optional if you want your rig to perform and not torch your transmission.
Round Two: Axles, Lockers, and Drivetrain
Now that you've got the truck sitting at the right height and rolling on the right rubber, it's time to think about what's actually putting power to the ground. This is where a lot of builders make an expensive mistake — they install lockers into stock axles that were never meant to handle the stress of aggressive wheeling at a larger tire size.
If you're running 35s or bigger, your stock Dana 44 or corporate 10-bolt may already be living on borrowed time. Upgrading axle shafts — or swapping to a beefier axle assembly entirely — before you install a locker is the move. A locker multiplies the torque stress on your axle shafts. Putting one into a weak axle is just scheduling a trailside breakdown.
Do the axle work first. Then add the locker. And if you're swapping in a selectable e-locker, keep in mind that the electrical work that comes with it ties into the next phase of your build.
Round Three: Electrical — The Phase That Breaks Everyone's Brain
Electrical upgrades have a nasty habit of creating problems when they're added piecemeal. A winch here, a light bar there, a dual-battery system bolted in six months later — and suddenly you've got voltage drops, blown fuses, and a charging system that can't keep up.
The smart play is to plan your full electrical load before you start wiring anything. Map out every accessory you intend to run — winch, lights, air compressor, fridge, radio — and add up the amperage. Then build your electrical system to handle that load from the start, even if you're not installing every accessory at once.
A dual-battery setup with a proper isolator and a wiring harness sized for your full intended load is infinitely easier to do once than it is to retrofit after the fact. If you know a winch is eventually coming, run the wiring for it now while you've got the front bumper off. Future you will be grateful.
Round Four: Armor and Recovery Points
Steel bumpers, skid plates, rock sliders — this stuff goes on after your suspension and electrical are sorted, not before. Why? Because aftermarket bumpers often affect approach angles and change the mounting points for accessories like lights and winches. If you've already run your wiring based on a stock bumper configuration, you may end up rerouting everything anyway.
Also worth noting: heavy steel bumpers affect your front-end weight distribution. Installing a 60-pound steel front bumper on a truck that's already sitting with a loaded roof rack can push your front axle weight past its rated capacity. Know your axle ratings, weigh your build decisions accordingly, and consider adding heavier armor in stages rather than all at once.
Resale Value: The Argument for Documented Builds
Here's an angle that doesn't get enough attention in the off-road community — a well-sequenced, well-documented build is worth more when it comes time to sell. Buyers in the used 4x4 market are getting smarter. They know that a truck with a random pile of mods installed out of order is a liability. But a rig with a clean build history, receipts, and a logical upgrade progression? That's a truck people will pay a premium for.
Keep a build log. Note what was installed, in what order, by whom, and what was inspected or replaced at each stage. It takes ten minutes per mod and it pays off — both in resale value and in the ability to actually troubleshoot problems when they come up on the trail.
The Bottom Line
There's no single "correct" build sequence that applies to every rig and every driver. But there are principles that hold up across platforms: fix the foundation before adding complexity, let your lift dictate your tires, protect your drivetrain before you stress it, plan your electrical load in full before you run a single wire, and armor up after the structural decisions are already made.
The off-roaders who end up with the most capable, reliable rigs aren't always the ones who spent the most money. They're the ones who spent it in the right order.